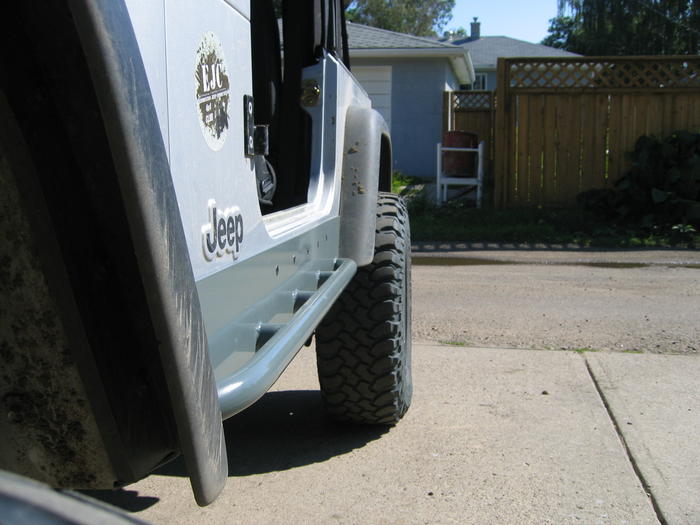
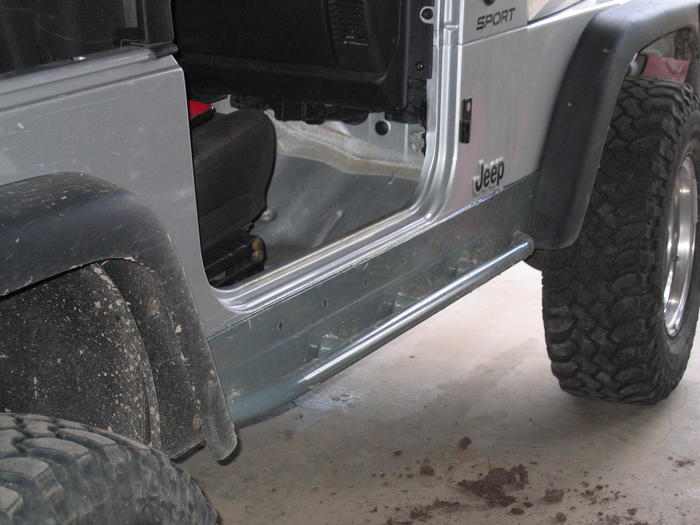
I finished up my custom made rockers yesterday. 6 months (maybe more) in the making. Not because they are really that difficult, but just because I didn’t put effort into them each day until they were done like I should have. I mostly let them sit around at the shop. They turned out really good, and I’m extremely happy with them. They are as beefy as the best made aftermarket ones, and I incorporated a couple features you cannot find anywhere else to make them unique. The final paint colour is what I’ll be using for all my armour on the jeep. I coined it “Nth Degree Gray” because it’s close to the colour that Nth Degree Mobility used before they went under and were bought out by AEV. I realize that this install won’t be performed by anyone else because they are a one-off set, but the basic install steps are the same for almost all body mounted rocker panels. If you needed to install a set of Shrockworks, Warn, AtoZ, Rokmen, etc etc… these would work fine. This is specifically what I used for my install, so some things may differ (like the drill bit size). Some common sense is needed. On the other hand, there are some steps in here that manufacturers generally won’t list, like sealing your bolt holes with acrylic. Alright, enough banter.. on with the pictures and install!
Tools:
- Floor jack
- Jack stands (x2)
- Drill
- 21/64″ drill bit
- 3/16″ allen key
- Ratchet
- 1/2″ socket
- 1/2″ wrench
- Large c-clamp or c-clamp vise grip (x2)
- Touch up paint
- Caulking gun
- Mono clear acrylic
Parts:
- Rockers (x2)
- .135″ stainless steel sandwich plates of various sizes (x8)
- 5/16″ x 1″ stainless steel flush head cap screw (x12)
- 5/16″ x 3.5″ grade 8 bolt (x2)
- 5/16″ x 2.25″ grade 8 bolt (x2)
- 5/16″ x 2.5″ grade 8 bolt (x8)
- 5/16″ fender washer (x12)
- 5/16″ lock washer (x24)
- 5/16″ nylock nut (x24)
Time:
- 3-4 hours
- 3/16″ 44w steel plate
- 1.5″ .120″ wall DOM tubing for the steps
- .135″ stainless steel sandwich plates inside the tub on the floor and the sides.
- Instead of one 90 degree bend, they have two bends 2″ apart. Going downwards, the first is 60 degrees, then 30 degrees.
- The tubes are about .950″ away from the rockers compared to most brands at 2″ or so.
- The tubes are angled upwards at a 20 degree angle.
- Full under body coverage almost to the frame. Mounted to only the body, not the frame or body mounts.
- All 5/16″ hardware, stainless on the sides, normal on the bottoms.

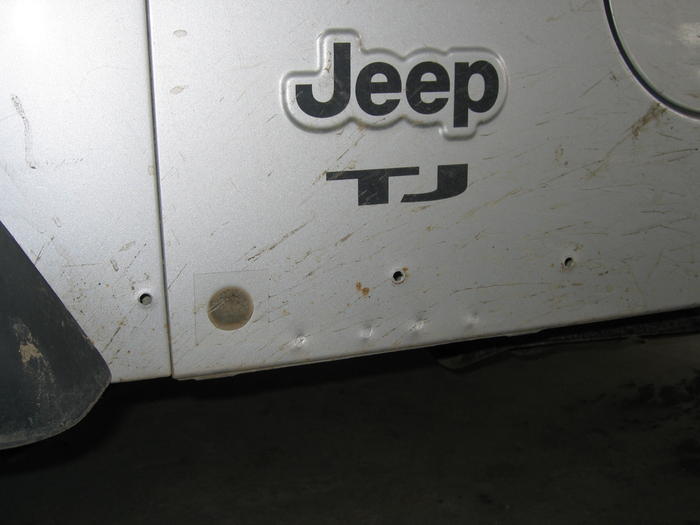
1: Start off by removing your fender extensions if you have them. It should be a 8mm wrench if I remember correctly. There are three bolts each. Once that is done grab your drill and drill out the inserts that the bolts thread into. Just like drilling out a rivet.
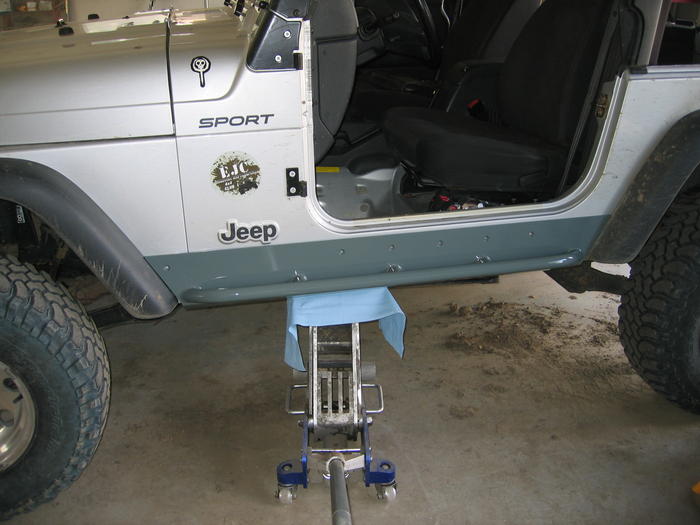
2: Clean the area that the rocker will be attached to. Clean the inside of the rocker as well. Place the rocker into place and then hold it up with the floor jack. A friend helps when doing this. Once you have it positioned how you want it you will need to pre-load the rockers. This is done because you want it to fit as tight as possible. If you don’t do this step you will likely end up with a small gap, and hitting the bottom of the rockers off-road could cause the holes to rip upwards until the bottom touches. With the floor jack underneath, jack up the side of the jeep a bit until there is good upwards pressure on the rockers. You can then put jack stands under it and get the floor jack out of your way.
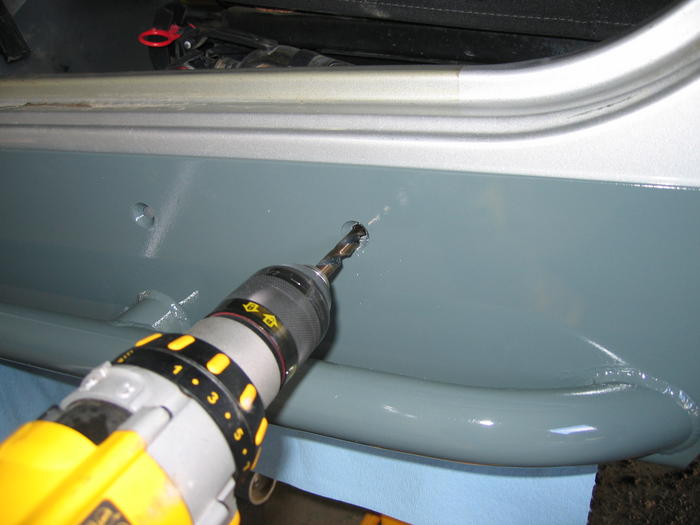
3: It’s time to drill some holes! Check to see that side-to-side they are centered. If the rockers aren’t quite flush to the sides, use some c-clamps to get it there before drilling. Using the rocker’s holes as a template, drill 21/64″ holes in the forward-most and rearward-most holes. Place flush head bolts in, put fender washers and nuts on the back and tighten them down enough to hold the rockers in place. This is done to make sure the rockers don’t shift around or move while you drill the rest.

4: Drill the rest of the holes in the side and put bolts in all of them. Make sure your carpet/floor mats are out first, then drill all the holes in the bottom the same way.
5: Remove the rockers and clean the inside of the rockers and all mating surfaces on the Jeep TJ really well. There will be all sorts of metal particles in there and you don’t want them to sit in there permanently! Go ahead and touch up all the holes you’ve drilled and give it 20 minutes to dry or so. Now is a great time to have a beer and get your caulking gun ready.
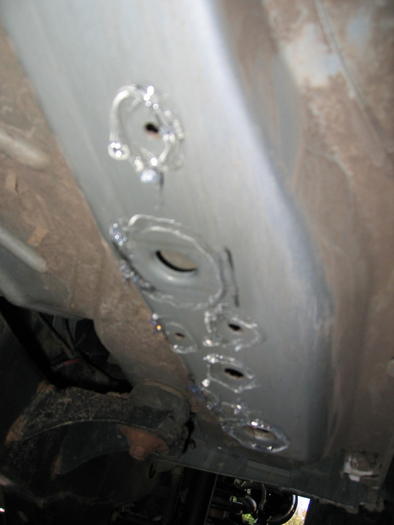
6: We’re gonna put some acrylic around all the bolt holes now. Make sure you only cut a small hole in the tip of the acrylic tube. We’re doing precise work here! Caulk around all the bolt holes and the drain hole. This will help keep water out when you drown your jeep later! 😛 It should seal when you put the rockers back on. For added sealing power you can caulk the bolts and the inside of the sandwich plates when you install them.
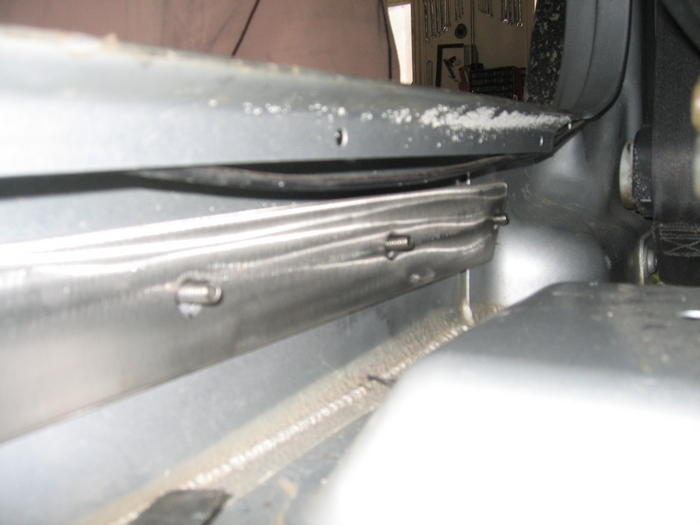
7: Put the rocker back on the jeep and pre-load it the same as before. Install all hardware and sandwich plates. If you’re installing a Shrockworks set, their sandwich plates are labeled F, M, R for front, middle and rear. Torque all bolts down nice and tight, and make sure you put a fender washer, lock washer, and nylock nut (in that order) on each one.

8: Run a *small* bead along the tops of the rockers to seal them to the body. This won’t keep water out ’cause that can still come up from below, but it will help keep grime, mud, and small rocks from creeping it’s way through the tops and getting wedged between the rockers and the body of the jeep. If you take a look at a stock set of fenders that have seen off-road use you will see what I mean. If the acrylic bead isn’t perfect don’t fret! Just use your finger and smooth it out, periodically wiping the excess from your finger to a paper towel. Don’t use a paper towel to wipe the acrylic off the rockers though! If it’s leaving edges just let it dry completely then pick them off. Don’t try to clean it up too much while it’s wet as it’s a losing battle.
You will have to let the acrylic set before you go out to avoid getting a bunch of dust in it. To fully set it needs to set for 72 hours, but I drove my jeep less than 24 hours later and it looked fine. It was still a little tacky in some spots, but dust didn’t stick all over. You might want to use stainless hardware for the inside bolts as well. I didn’t, but I plan on lining my tub as soon as possible. If they rust up real bad I will replace them later.
Here is the CAD file for this build.